A daunting task? Perhaps, but if you use these easy tips and tricks, you'll find the right products that can make doing a manicure at home easy-breezy.
DIY Manicure has many benefits as it is not only cost-effective but time-saving as well. It's a lot less stressful when you can do it yourself and this doesn't have to be just a means to cure your boredom either! Let's get down to business in order to learn how.
The first tip that you should know is having the perfect nail size. Most people are actually too big for manicure supplies that are typically meant for your little fingernails—going bigger could harm nails that are already fragile and thin.
Tools And Products Required For Manicure At Home
Of course, you'll need to gather the tools required for doing a manicure at home. The first thing that you'll need is a good pair of nail clippers.
You can get a lot of styles, but you should invest in one that is made of high quality with sharp blades and has a good grip. Additionally, ask your manicurist if they have a pair they would be willing to share with you.
After you get your tools, your next step is to gather all the products that you need for doing a manicure at home. This includes removing any polish that might already be on your nails using a nail polish remover and nail or cuticle cream or lotion for softening the skin around the nail.
How To Do A Manicure At Home
Removing Nail Paint Traces:
You need to remove the nail paint traces from your nails in order to begin getting prepared for the DIY manicure process. Use a cotton ball to remove any traces of nail paint from your nails.

Clipping and Filing Your Nails:
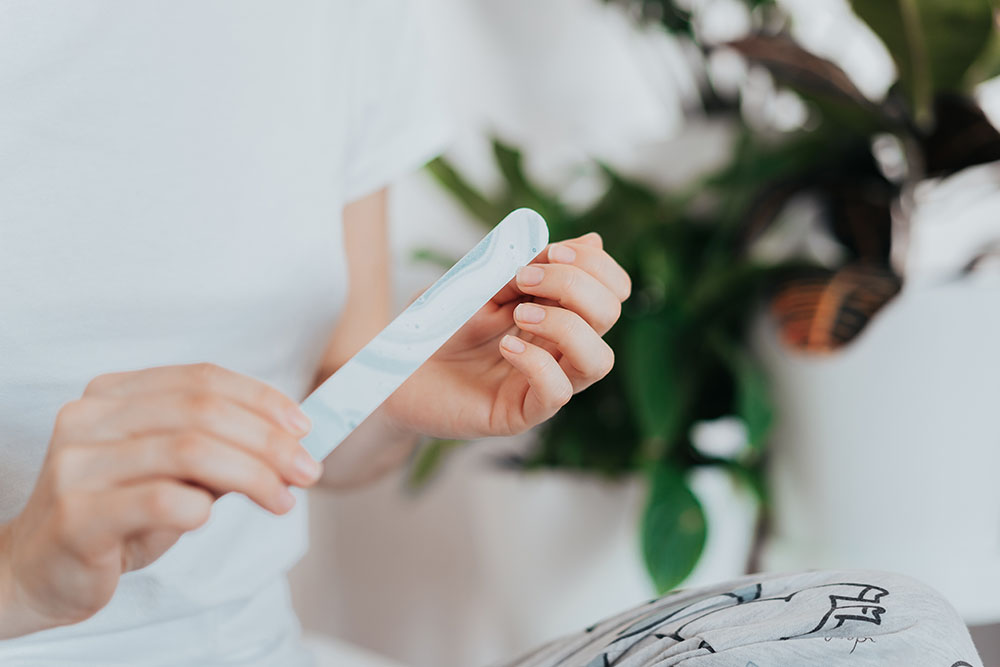
Equip yourself with your nail clippers, a nail file and moisturiser to soften your cuticles and nails. Be sure to clip, file, and buff in one direction only—this is important for getting rid of any discolouration of the natural nail. You will also get rid of any sharp edges around the nails that could lead to splitting or breaking.
Checking The Nail Shape And Inspecting Your Cuticles:
After making sure that there are no traces of nail paint left on your fingernails, you need to examine your nails and decide if there is any shape alteration that needs to be made.
At this stage, you mustn't cut too much of the skin around your nails because this can reduce the blood flow to the nails. Ideal results would be a slight rounding of the edges, do not overdo it or else you might cause an infection.
Soaking Your Nails:
Take a few drops of your nail cream in a small bowl and then dip your nails in it. Repeat the procedure until all your nails are soaked.
After soaking, you need to use an orange stick to make sure that there is no water left inside the bowl. You can also use gauze or a piece of cloth to wipe off any excess water from the bowl before placing it in the refrigerator for 15 minutes.
Depending on the type and kind of polish that you're using for a DIY manicure, you can use a nail buffer in order to provide shine and glossiness to your nails.
You can use a cuticle trimmer if there is some excess left from the epilation process. You should also check if there are some dry spots on your nails due to bacteria and fungus; if you see any, just apply a little cream and massage it around for about five minutes before using a cuticle remover.
Applying The Base Coat And Polish:
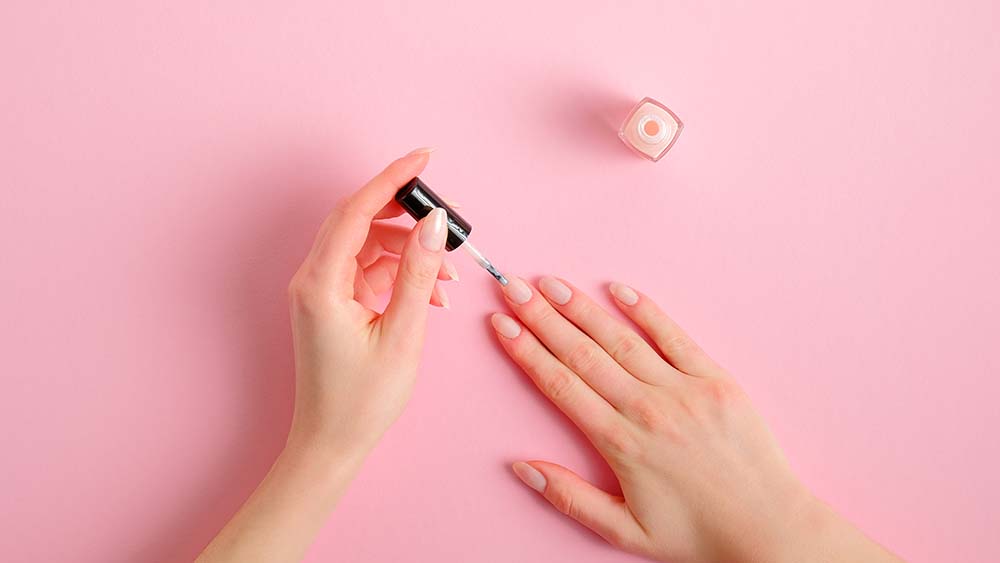
You need to apply three different layers of the base coat along with three coats of polish on each nail. Remember not to apply too much polish on fingernails because this can cause chipping or flaking of nails faster than you'd like, especially when using them as tools.
Once done with the polishes, buff your nails using a nail buffer to provide shine and gloss. You can also use a nail file to get rid of any rough edges that might be left from over-filing or removing polish. Make sure to not miss this very important manicure step.

Applying The Top Coat:
After you have finished polishing your nails, you need to apply a top coat to prevent the chipping or flaking of your manicure from happening so quickly. It is also vitally important that you remove the excess polish before placing it in the refrigerator for about 15 minutes in order for it to harden.
This will keep your manicure strong and durable as well as prevent bacteria or fungus from growing inside it. This is a very important manicure step to ensure you follow.
Conclusion
After doing all these procedures correctly, you will be ready to do a manicure at home.
FAQs
What kind of tools do I need?
The general tools that are needed are nail clippers, tweezers and nail files.
What should I use as a moisturizer?
A good moisturizer should be used in order to make sure that you don't damage your nails. Some common moisturizers are vitamin E oil, jojoba oil, almond oil and olive oil.
What are the steps on how to do a manicure at home?
The steps have already been outlined in this article so make sure to follow them accordingly.