I’ve always wanted to perk up my bedroom and living room with fresh-cut flowers since I was a child, I have been obsessed with florals for as long as I can remember. Unfortunately flowers are not inexpensive and I had to wait till I grew up and could invest in fresh flowers. But buying flowers wasn’t enough, I realised that while anyone can plop a handful of flowers into a vase, there is a little more thought and technique that goes into the art of flower arranging. With a bit of planning and careful preparation you can create a beautiful centrepiece/ arrangement and ensure that the flowers maintain their colour and freshness longer than a day.
While it does sound like a task, it is super easy to learn how to arrange flowers in a vase and make it look like a professional's work. Once you learn the basics, flower arranging can be both fun and simple. This step-by-step guide to arranging flowers will help you put together and display gorgeous bouquets.
Flowers and Fillers
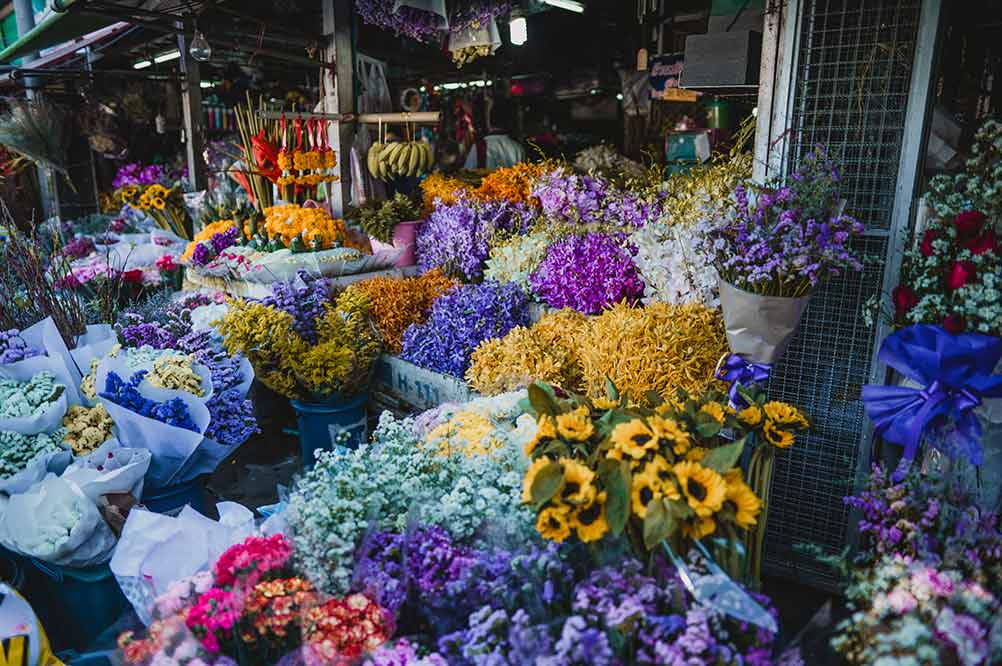
Whether it’s beautiful peonies and dahlias during the summer, or evergreen branches and dried hydrangeas in the winter, nature gives us so much beauty to enjoy. Head to your nearest flower market for a good deal on flowers, you’ll need greens, a handful of blooming focal flowers, and plenty of pretty fillers. Choose your preferred colour palette as you are selecting your flowers. Always pick a neat colour scheme—just whites and greens with hits of pink, coral, peach or even yellow, or just blues, purples and maroons. Pick flowers that will effortlessly last you more than a day.
Choosing the correct vase
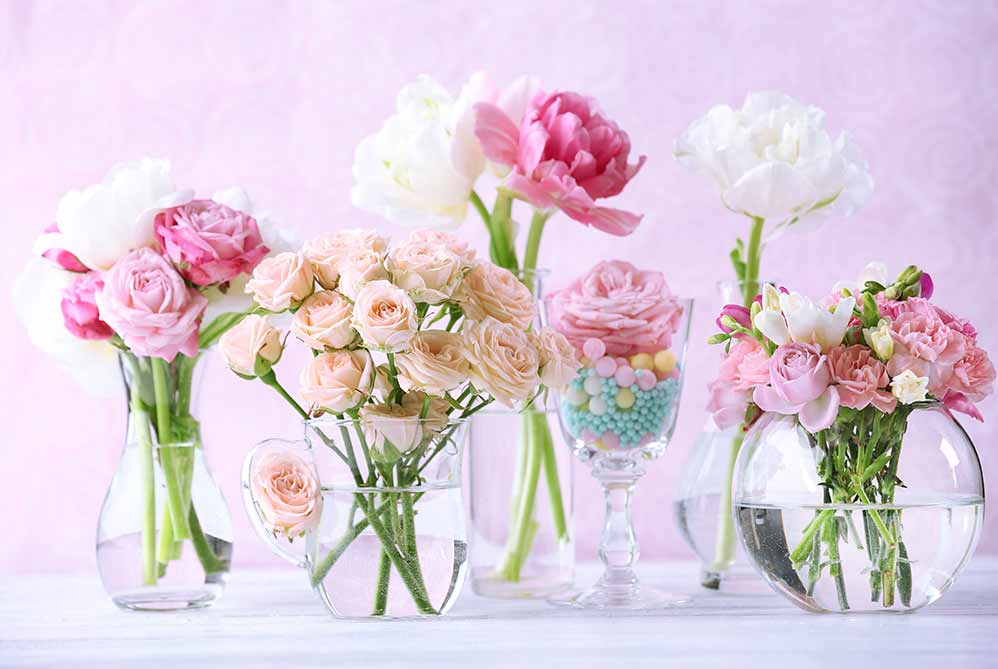
When selecting a vase or any other container for your arrangement, consider the type of flowers you're using. Tulips typically require the support of a straight-sided vase, while tall branches or top-heavy flowers might need a slanted vessel. If you use the same vase repeatedly for fresh flowers, it’s important to actually wash the vase between bouquets. Bacteria caused by the decay of your last arrangement can linger causing your new flowers to perish faster. I like to use woven baskets to hold my flowers for added natural texture. Arrange your flowers in a glass container or repurpose water bottles to hold the water and place them in the weave basket. If necessary, fill in with moss around the container to disguise it inside the basket.
Trimming the flowers and foliage
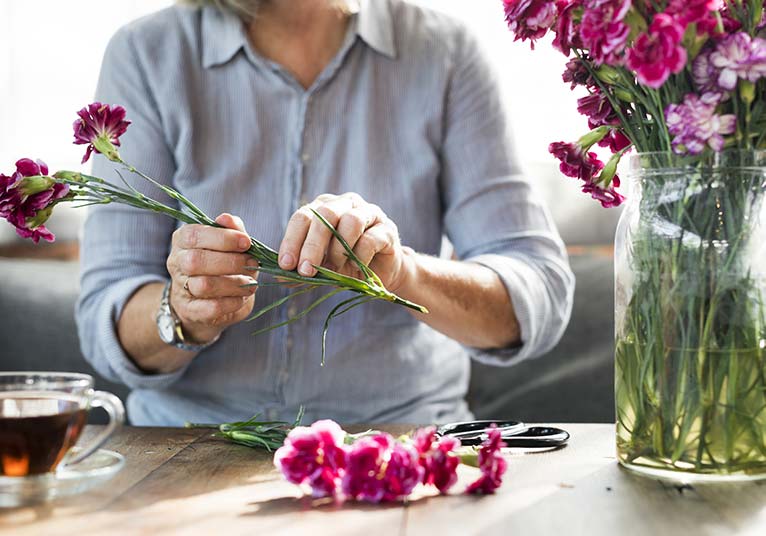
Prepare your stems by trimming them at a 45-degree angle to the desired length to ensure that there is maximum surface area for water absorption and also so the stems don’t sit flat against the bottom of the vase blocking water from absorbing. Strip away all leaves that will fall below the water line to cut down on that nasty bacteria that causes flower wilt. After trimming, place them in water immediately.
Don’t overthink the arrangement
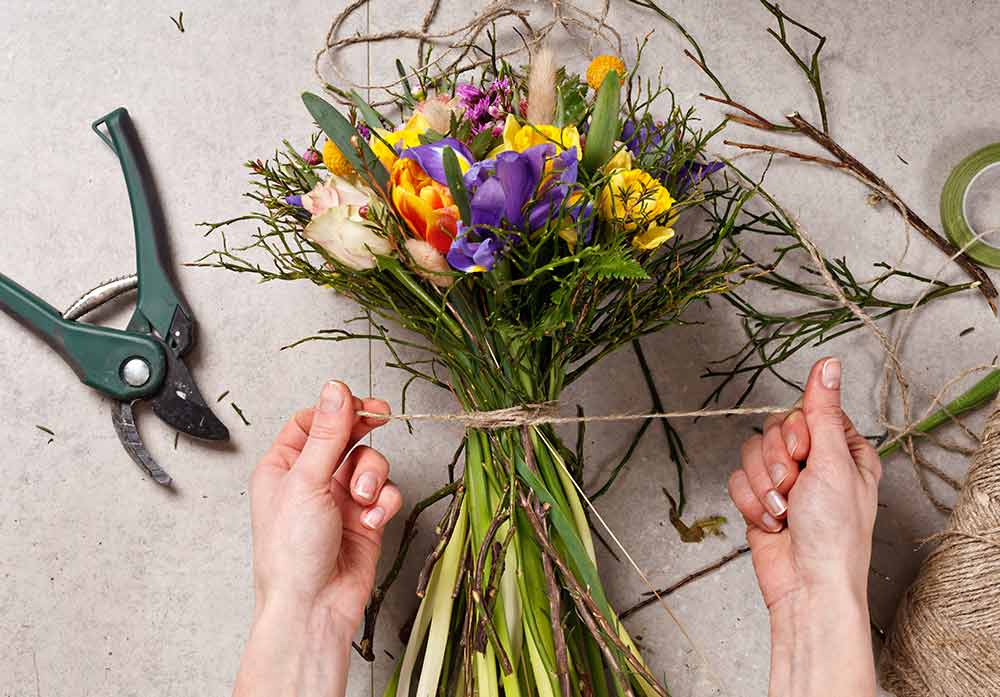
Start with greenery as a base - eucalyptus, ivy, and fern branches are my greenery go-to favourites. Use the stems of the greenery to create an inverted triangular shape. Be sure to recut stems before adding them to the vase. Follow this up with the focal flowers. Make sure to not follow a set pattern for a more natural look. Don't place the focal flowers on the sides, they will look droopy and heavy. Place them in the middle so that they stand out. Add smaller flowers and textural elements in the arrangement to fill around the focal flowers. Think of the shape of the arrangement, and fill in all angles of that desired shape for it to look complete. Combine smaller flowers together in groups of three or five to create clustering.
Fresh water is critical
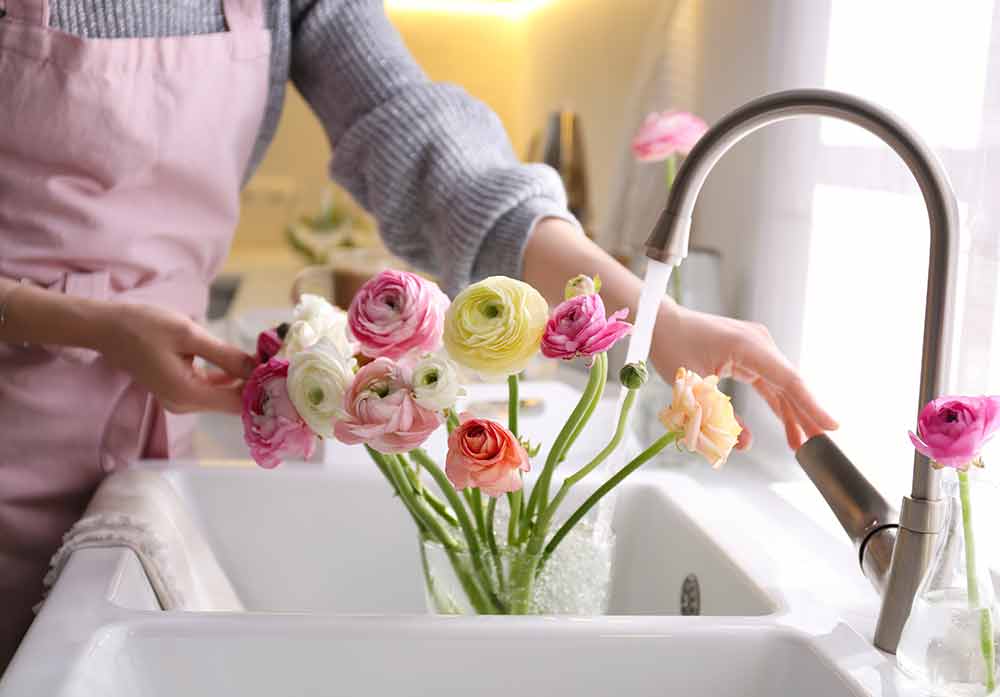
Refresh the water in your vase every day. When you change the water, you are literally removing bacteria - this extra step prolongs the life of your blooms. In some heavy arrangements, it might be tough to remove your stems from the vase in order to fully replace the water. In this case, just add fresh water to your arrangement daily to replenish.