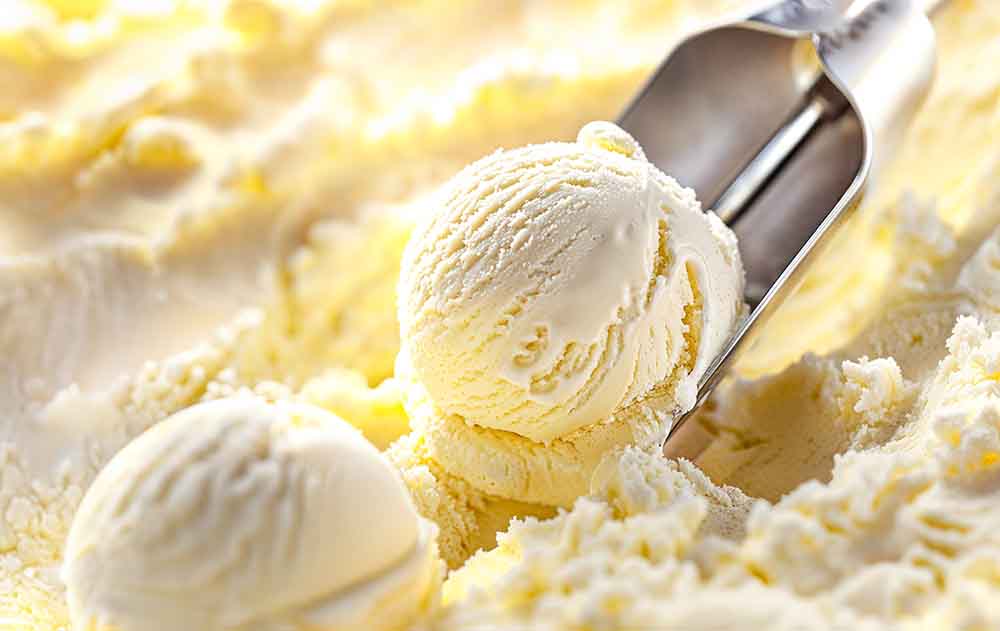
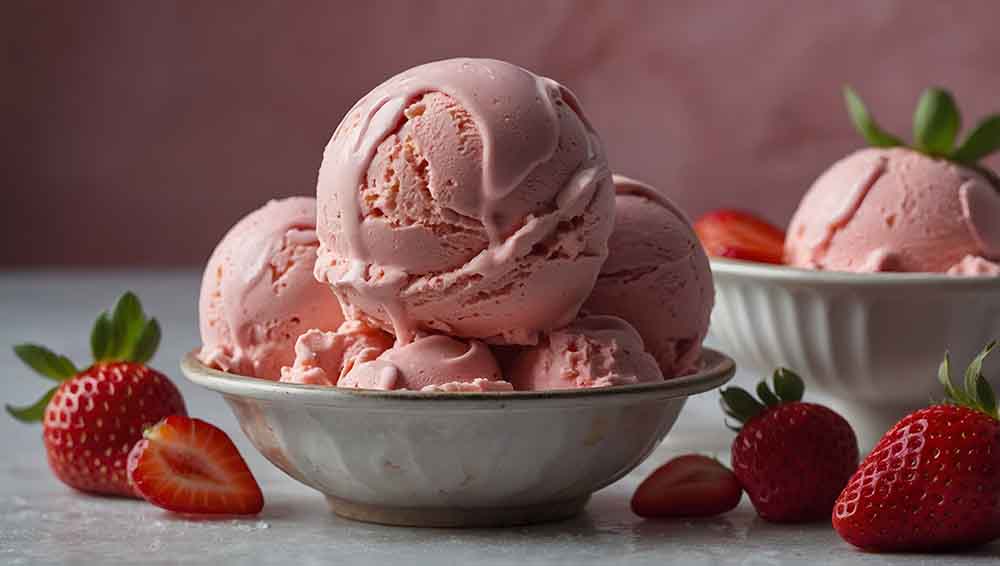
Ice cream is more than just a dessert; it's an experience that brings people together. From childhood memories of chasing the ice cream truck down the street to sophisticated evenings with gourmet flavours, this frozen treat is as versatile as it is beloved. It’s perfect for celebrations, family gatherings, or a simple indulgence after a long day. Plus, with so many flavour combinations—from rich chocolate to refreshing fruit sorbets—the possibilities are endless.
Making ice cream at home adds a personal touch, allowing you to experiment with flavours, textures, and toppings that suit your taste. No need for expensive machinery or special tools—just basic ingredients and a little creativity. It’s an enjoyable and fulfilling process, and the result is always a delicious, homemade treat. Whether you’re looking to recreate your childhood favourite or invent a new flavour, homemade ice cream gives you the freedom to customise every scoop. In this blog, we’ll show you how to create a simple yet delectable ice cream recipe that doesn’t require an ice cream maker, making it accessible for everyone to enjoy.
Ingredients Required to Make Ice Cream
Making ice cream at home is easy with just a handful of ingredients. The essentials include:
1. Heavy Cream (2 cups): The key ingredient to create that rich, creamy texture.
2. Whole Milk (1 cup): A lighter option than cream, helping to balance the ice cream’s richness.
3. Granulated Sugar (3/4 cup): This adds sweetness and helps in achieving the perfect consistency.
4. Vanilla Extract (2 teaspoons): A classic flavour that complements any mix-ins.
5. Salt (1/4 teaspoon): A pinch of salt elevates the sweetness and balances the flavours.
6. Optional Add-ins: Chopped fruit, chocolate chips, nuts, or cookie crumbles to create your unique flavour.
These are the basic ingredients for a simple homemade vanilla ice cream recipe. However, depending on your desired flavour, you can easily customize it by adding other ingredients such as cocoa powder, berries, or caramel sauce.
How to Make Ice Cream at Home
Learning how to make ice cream at home doesn’t require fancy equipment or a special ice cream maker. Here’s a simple method that will guide you through creating a delicious batch of homemade ice cream.
Step-by-Step Instructions
1. Prepare the Cream Mixture
Start by whisking together the whole milk and granulated sugar in a large bowl. Continue whisking until the sugar dissolves completely.
Add the heavy cream and vanilla extract to the mixture and stir until combined. The mixture should feel smooth and creamy.
2. Chill the Mixture
For the best results, cover the bowl with a lid or plastic wrap and refrigerate the mixture for about 1-2 hours. This helps the ingredients to set and ensures the ice cream will have a smooth texture once frozen.
3. Freeze the Mixture
After the mixture has chilled, pour it into a shallow dish or an airtight container. The goal is to spread the mixture out as evenly as possible so it freezes faster.
Place the container in the freezer for about 4-6 hours, or preferably overnight. During the freezing process, check the mixture every 30 minutes and stir with a fork to prevent ice crystals from forming. This step is crucial to achieving a creamy texture.
4. Final Freeze
After stirring for a few hours and seeing that the mixture is thickening, let it freeze completely. Your homemade ice cream will be ready to enjoy!
Pro Tip: If you want a smoother, softer texture, you can use a hand mixer to blend the mixture halfway through the freezing process.

How to Churn Ice Cream
Churning is an essential part of the ice cream-making process, especially when you want to achieve that rich and creamy consistency. If you don’t have an ice cream maker, don’t worry—churning at home can still be done manually. Here’s how:
1. Manual Churning
Place your ice cream mixture in a shallow dish and put it in the freezer.
Every 30 minutes, take the container out of the freezer and stir it vigorously using a fork or a whisk. Scrape down the sides to prevent ice crystals from forming.
Repeat this process 3-4 times until the mixture thickens and becomes creamy.
2. Using a Stand Mixer or Hand Mixer
o If you have a hand mixer or stand mixer, you can use it to churn the ice cream.
o After the ice cream has partially frozen, place the mixture in the mixer and beat it on a medium speed for a few minutes. This will incorporate air and create a smoother texture.
Churning helps create air pockets in the ice cream, which results in the signature smooth texture. If you're making a lot of ice cream at once, investing in an ice cream maker can make this step much easier.
Different Toppings and Variations to Try
Now that you’ve made your homemade ice cream, it’s time to get creative with toppings and variations! Ice cream recipes can be customized in countless ways, from adding mix-ins to drizzling sauces on top.
Toppings Ideas
● Chocolate syrup or caramel sauce: Classic choices that complement any flavour.
● Chopped nuts (e.g., almonds, pecans, or walnuts): Add a crunchy texture to your creamy ice cream.
● Fresh Berries: Strawberries, raspberries, or blueberries work beautifully with vanilla ice cream.
● Sprinkles: A fun option for kids, offering a colourful crunch.
● Crushed cookies: Oreos, graham crackers, or biscotti crumbles are perfect for adding texture and flavour.
● Shredded coconut: For a tropical touch, try topping your ice cream with sweetened coconut flakes.
Flavour Variations
● Chocolate Ice Cream: Add cocoa powder or melted chocolate to the base mixture for a decadent chocolate flavour.
● Fruit Sorbet: Use fresh fruit puree (like mango or raspberry) and substitute the milk/cream for water for a refreshing sorbet.
● Mint Chocolate Chip: Add peppermint extract and chocolate chips for a minty, indulgent flavour.
The possibilities are endless, so don’t be afraid to get creative with your homemade ice cream!
Storage Tips
Proper storage is essential for keeping your homemade ice cream fresh and preventing ice crystals from forming. Here are some helpful tips:
● Airtight Containers: Store your homemade ice cream in an airtight container to avoid freezer burn and to keep the ice cream from absorbing any unwanted odours.
● Plastic Wrap: Place a layer of plastic wrap directly on the surface of the ice cream before sealing the container. This helps prevent ice crystals from forming on top of your frozen treat.
● Freezing Time: Homemade ice cream can be stored for up to 2-3 weeks. However, it's best enjoyed within the first week for the best taste and texture.

What to Serve with Homemade Ice Cream
While homemade ice cream is delicious on its own, there are several dessert options that pair wonderfully with it:
1. Waffle Cones or Bowls: Serve your ice cream in a homemade or store-bought waffle cone or bowl for an extra treat.
2. Fruit Compote: A warm fruit compote (like berry or peach) can add a fresh and tangy contrast to the cold, creamy ice cream.
3. Hot Fudge Brownies: Ice cream pairs perfectly with warm brownies drizzled with hot fudge sauce.
4. Cookies: Sandwich your homemade ice cream between two freshly baked cookies for an irresistible ice cream sandwich.
These options add variety and excitement to your homemade ice cream experience.
Conclusion
Making ice cream at home is a rewarding experience, and it’s easier than you might think! With just a few simple ingredients and minimal equipment, you can create a creamy, delicious dessert that rivals anything from the store. Experiment with different flavours, toppings, and variations, and enjoy the process of creating something truly special in your own kitchen. One of the best parts of making ice cream at home is the ability to create healthier versions by choosing ingredients that suit your dietary preferences, such as using low-fat milk or dairy-free alternatives like coconut or almond milk. Additionally, making your own ice cream opens up a world of customisation, from unique flavour combinations to fun mix-ins, allowing you to craft treats that match your tastes perfectly. Lastly, making ice cream can be a wonderful bonding experience, offering quality time with family or friends as you share the joy of creating and enjoying a delicious homemade dessert together.
FAQs
How long does it take to make ice cream at home?
It typically takes about 4-6 hours for the ice cream to freeze completely, depending on your method. If you churn it manually, it will take longer due to frequent stirring.
Can I make ice cream without an ice cream maker?
Yes! You can make ice cream without an ice cream maker by manually churning it or using a stand mixer or hand mixer to incorporate air and achieve a creamy texture.
How do I make dairy-free ice cream?
You can make dairy-free ice cream by using coconut milk, almond milk, or oat milk as a substitute for whole milk and heavy cream. Be sure to choose a sweetener that suits your diet.
Can I add mix-ins to the ice cream?
Yes, you can add mix-ins like chocolate chips, fruit, or nuts either during the last stages of freezing or after the ice cream has begun to set.