Earrings can make the most basic outfit stand out and often the right pair can effectively reflect your mood and personality.
I'll admit it—I'm an earring junkie. If you're one too, you'll understand how time-consuming it may be to amass a collection of earrings that precisely complement your style. Fortunately, there are a plethora of spectacular earring DIY ideas available.
I guarantee that no matter what your style, budget, or resources are on hand, you can make a pair of earrings that will make you happy. Let's have a look at some of the popular styles, and how you can make your own.
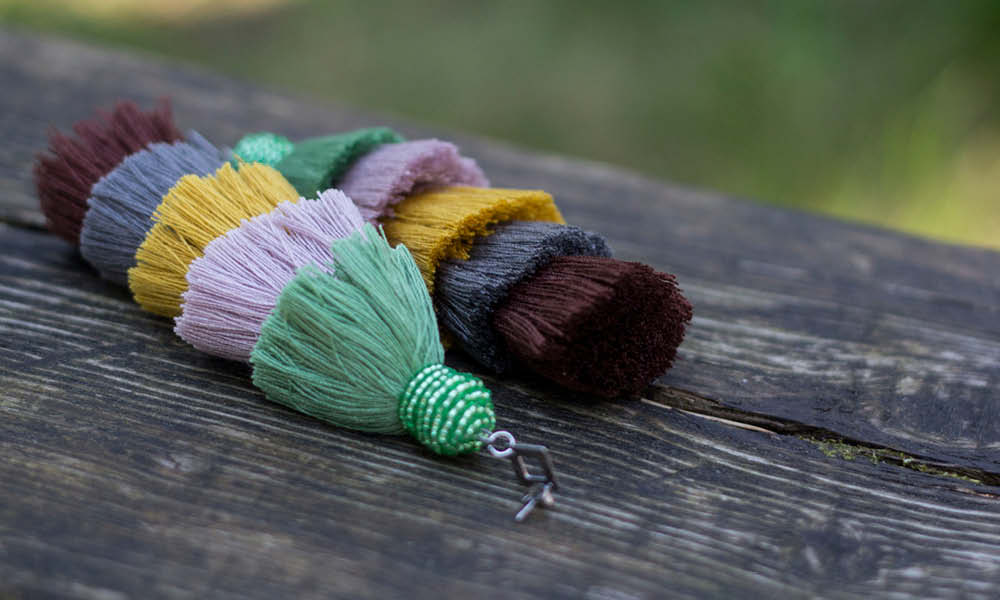
1. Tassel Earrings
These simple yet stylish DIY tassel earrings work great with a casual outfit or a fun night out in town. They're not only really cute, but they're also incredibly easy to make. To get started, all you'll need is some embroidery floss and a spool of embroidery thread, and you'll be wearing beautiful tassel earrings in no time.
You Need:
• Round nose jewellery pliers
• Sterling silver earring hooks
• 5-7mm silver jump rings
• Embroidery thread in any colour of your choice
• Ruler
• Scissors
Method:
Step 1: Take 25 strands of embroidery floss, each seven in long
Step 2: Place all of the strands together and cut 12in off each side to ensure that they are all the same length. Cut the supports in half to create two or three-inch strand bundles.
Step 3: Slide a jump ring onto the centre of your strand bundles and fold the bundle in half.
Step 4: Cut two to nine strands of embroidery floss into bundles and bind them together in a tight knot under the ring.
Step 5: Wrap the ends a couple of times and create a tight double knot with the two ends. Remove any stray threads.
Step 6: Open the bottom loop of the earring hook with the pliers, slip the open hook onto the loop ring, then close the loop with the pliers.
Step 7: Comb the embroidery floss into single threads using the sharp end of the thread ripper.
Step 8: Trim the tassels to even them out and they are ready to wear.
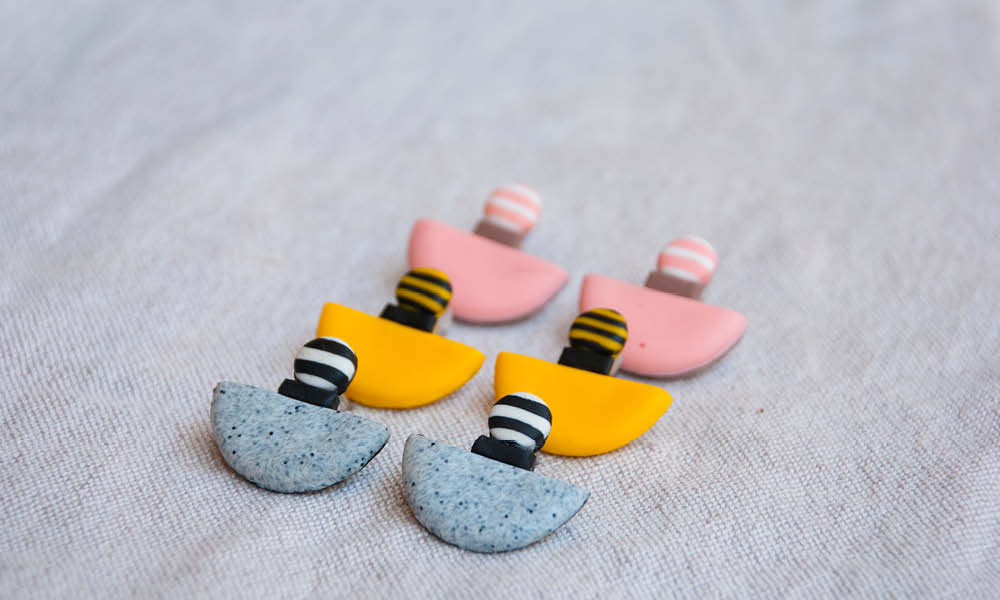
2. Polymer Clay Earrings
Polymer clay earrings are simple, quick, and enjoyable to make. Make a pair of these popular and contemporary designs for yourself. Modern marble, floral and botanical patterns, abstract landscapes, and arch shapes are just a few of the bespoke colours and designs available.
You Need:
• Clay rolling pin and board set
• Clay roller/press
• Clay shape cutters
• Small shape plunger cutters
• Clay tools
• Larger clay toolset
• Jewellery pliers
• Gold jump rings
• Jewellery glue
• Gold earring posts and backs
• Earring display cards
• Earring boxes
• Rubbing alcohol
• Paper towels
• Cookie sheet
• Parchment paper
Method:
Step 1: Before you begin, ensure that the surface you're using is flat. Place the parchment paper where you'll be working with the clay so it doesn't stick to the surface.
Step 2: When you take polymer clay out of the package, you must warm it up in your hands to revive it.
Step 3: Roll out the clay using a rolling pin. Ensure that it is uniformly spread out and is not uneven on the surface.
Step 4: Using the clay or shape cutters, cut out the shapes you want for your earrings.
Step 5: After cutting the forms, use a clay tool to poke holes where the jump rings will be placed. If you're making studs, for example, you won't need any holes, but if you want to make a lower and upper piece, you'll need a hole on each component so you can combine them with a jump ring.
Step 6: Place the clay on parchment paper on a cookie sheet once you've cut the shapes and poked the holes. If you're already cutting on parchment paper, simply pick it up and place it on a baking sheet so you don't have to contact the clay.
Step 7: After the clay has come out of the oven, let it cool for a few minutes before putting the earrings together, which is the final step.
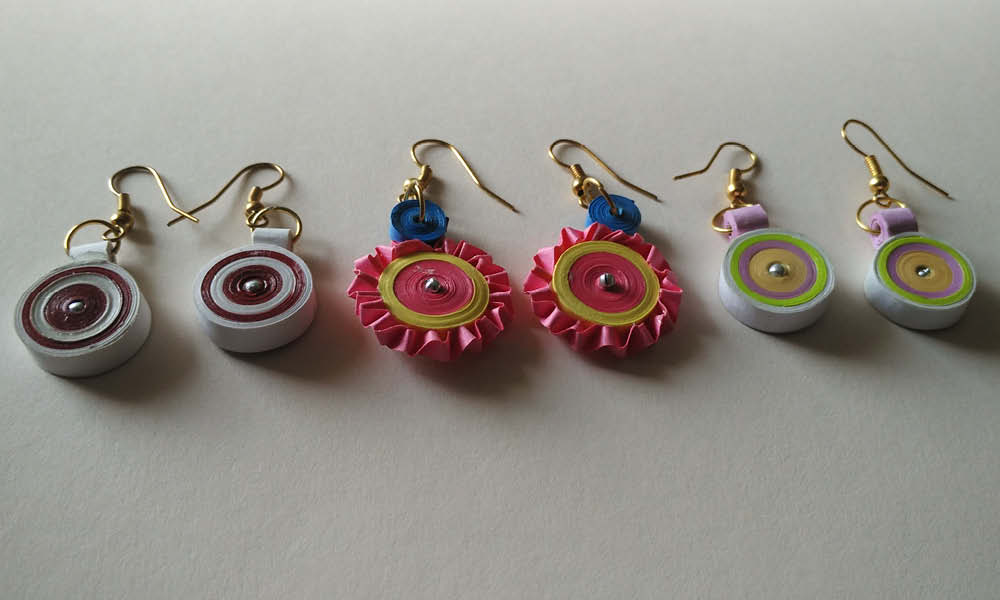
3. Quilled Paper Earrings
This weekend, why not try something new? Make a pair of quilled paper earrings, for example. We rarely wear paper earrings, so this may seem weird, but we promise that these quilled paper earrings will be a lovely addition to your jewellery collection as well as an excellent craft to practise some skills.
You Need:
• Quilling paper strips
• Jump rings and Earring hooks
• Shaping tool
• Slotted tool
• Scissors
• Craft glue
• Craft pliers
The design can be broken down into two parts:
a) Dome Or Cone Shape
Method:
Step 1: Glue strips of quilling together. Apply glue to five of the paper quilling strips and join them together. Apply a dab of glue to the end of each strip and use it to join it to the next. To build a dome or cone, you'll need the extra material.
Step 2: Prepare the quilling paper by coiling it. Using a quilling needle, begin coiling the paper quilling. Wrap the quilling paper around the needle many times until a tight coil forms. When producing quilling domes and cones, it's crucial to make a tight coil. This will appear more professional and secure than a loose coil.
Step 3: To make the coil, use a dome or cone-shaped item. After you've produced the coil, start pushing the centre out to shape it into a dome or cone. Form the quilling into a dome shape using a quilling mini mould. To make a dome, press the coil over the small mould. If you don't have a little mould, a thimble can be used to help form the coil. You can also use your fingertip, although the results will be less precise.
b) Flat Designs
Step 1: Pick your colours. The colours you choose can have an impact on the outcome of your project. Quilling comes in a variety of colours, so you'll have plenty of choices. Choose a few different quilling styles in complementary hues.
Step 2: Prepare the quilling by coiling it. To coil your quilling, you'll need a quilling needle. Wrap the quilling needle's end around the quilling, then twirl the needle to wrap the quilling around it. Continue coiling the quilling and twisting the needle until you reach the end.
Step 3: Make the designs how you choose. By pressing on the edges of the flat coils, you may mould them into various shapes. Leave the quilling in a circle, squeeze the sides to make an oval, or press all four sides to make a square.
Putting It Together
Use a strong adhesive to put the earrings together, and voila! You have your very own stylish accessory.

4. Fabric Earrings
Fabric jewellery is a relatively new type of jewellery that takes its inspiration from the many different and intricate prints found on fabrics. As a result, not only is this jewellery beautiful and unique, but it is also simple to make.
You Need:
• 2 fabric strips, about 3-5 cms each
• Earring hooks
• Scissors
Method:
Step 1: Fold the fabric strips four times to make a square.
Step 2: When slanting the cut, use the scissors to make an open triangle, or rather a trapezium-like cut.
Step 3: Hem the edges of the fabric strips to prevent excess strings from protruding from the earrings.
Step 4: After you've finished hemming, secure the hook to the cloth strip by pressing it firmly against it.
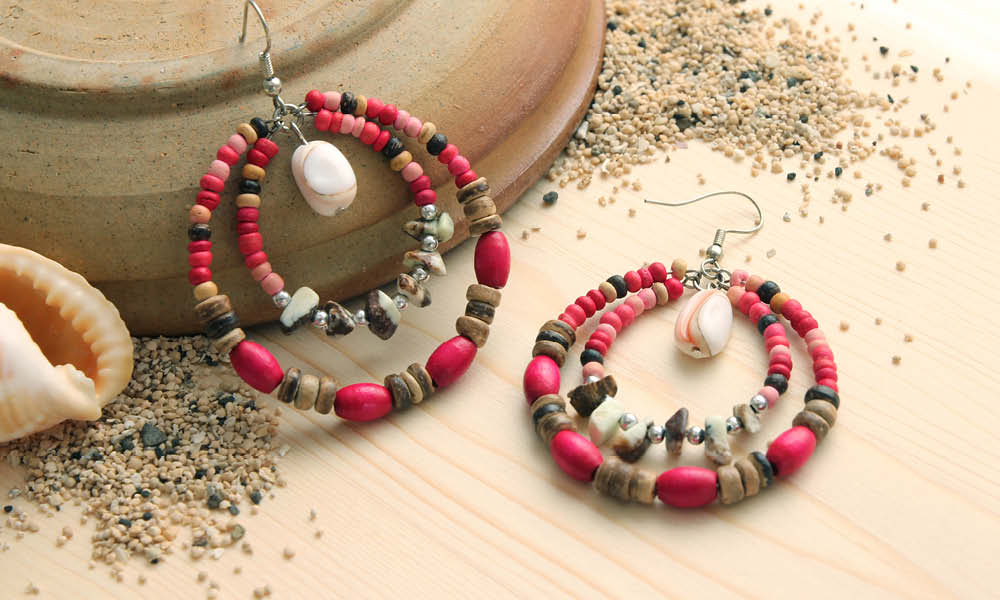
5. Beaded Earrings
Beaded earrings may appear complicated to manufacture, but with the correct tools and supplies, they are rather simple.
You Need:
• Earring hooks
• Endpins
• Wire cutters
• Beads
• Round nose pliers
Method:
Step 1: Begin by placing a spacer bead or a bead with a smaller hole than your other beads at the bottom of the endpin, then adding your desired beads to the endpin.
Step 2: Continue to add beads to the endpin until there is 1/4 in to 3/8 in (6mm to 1cm) of space left. It's crucial to leave sufficient space between the earrings and your skin so that they don't become rigid.
Step 3: Bend the top of your head-pin with a pair of round-nose pliers. Bend the headpin so that it forms a 90-degree angle with the beads. This will help to secure the beads in place and start the earring hook attachment process.
Step 4: Using the round-nose pliers, bend the top of the endpin into a loop. With the round-nose pliers, you can add a post or wire to finish the earring at the end of the headpin. Form a nice loop with the end of the headpin using the pliers' tip as a guide.
Step 5: Place the earring hook on top. The earring hook must then be attached to the loop. Do this before you completely close the loop. Then seal the loop with your round nose pliers.
Step 6: Repeat these steps with the next earrings for a beautiful pair of beaded earrings.
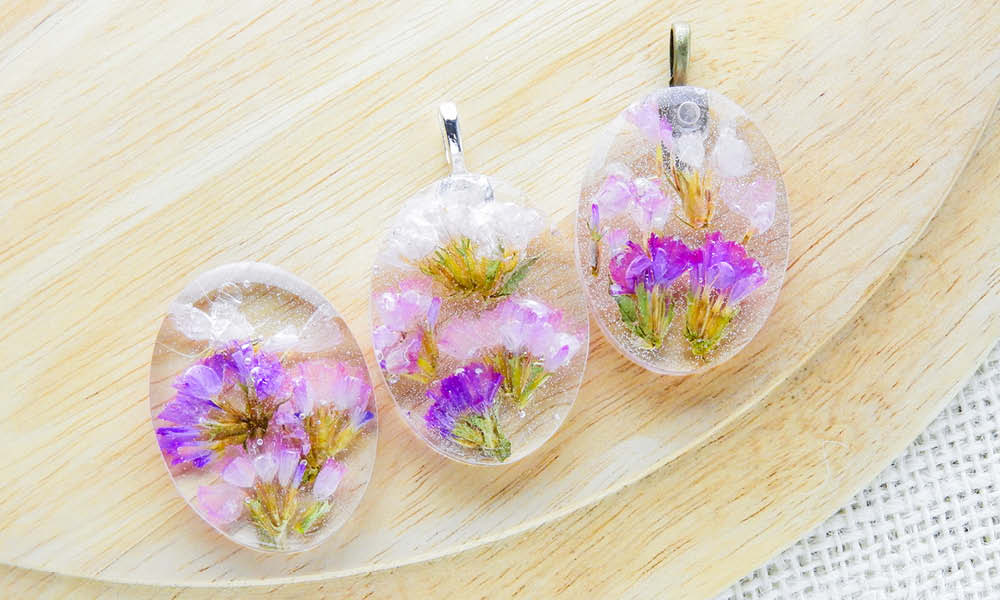
6. Resin Earrings
You can make your unique resin jewellery at home with a little time and practice. Experiment with different colours and styles for a personalised look.
You Need:
• Resin drips, based on your preferred colours
• Rubber or plastic gloves
• Wax paper
• Sealant
• Resin mould
• Scissors
• Mould release
• Packing tape
• PU casting resin
• Embellishments, as per your choice
• Warm water
• Jump rings and earring hooks
Method:
There are four parts to making resin earrings.
Part 1: Preparing Supplies
Step 1: Make sure your workspace is ready. You can use any desk or table as long as it has adequate space for all of your materials. Wax paper should be used to cover the entire work area.
Step 2: Look for accessories to add to your project. Make an effort to be inventive. Flat two-dimensional items and more sophisticated three-dimensional objects can also be used. Almost anything can be put in resin, but make sure that the arrangement you want to build will fit inside the resin mould or bezel.
Step 3: Seal porous embellishments like fabric and scrapbook paper with sealant. Apply sealant to the top, bottom, and sides of all porous embellishments. Allow the sealant to dry completely before applying the decorations.
Step 4: Everything should be cut down to size. Make sure the size of the item matches the measurements of your mould or bezel when utilising transparencies and papers.
Step 5: Decide whether to utilise bezels or moulds. Moulds provide you with more design flexibility, but bezels are easier to deal with because you don't have to remove the resin when it cures.
Step 6: Mould release should be applied to the moulds. If you're going to utilise a mould, you'll need to spray it with mould release. Before continuing, let the mould release dry. Alternatively, if you choose to utilise a bezel, carefully cut a piece of thick, robust packaging tape to fit one side of the bezel.
Part 2: Preparing The Resin
Step 1: Select the appropriate resin. Choose polyurethane (PU) casting resin over polyester casting resin for the best results.
Step 2: Fill the resin and catalyst bottles with heated water. Fill a small dish halfway with hot tap water and place the two bottles within, their contents submerged beneath the water's surface.
Step 3: Combine equal parts resin and catalyst in a mixing bowl. In a tiny plastic or silicone measuring cup, combine the resin and catalyst in equal parts. Using a wooden stick, stir continuously for two minutes.
Step 4: If desired, add colour pigments. There is no need for colour pigment while making clear resin jewellery. However, if you want to apply a colour tint to each component, now is the time to do so.
Part 3: Moulding The Resin
Step 1: Pour a layer of resin into the hole. Fill the mould or bezel with enough liquid resin mix to completely cover the bottom.
Step 2: Any air bubbles should be removed. For about a minute, hold a hair drier, lighter, or heat gun 4 inches (10 cm) above the resin. Any trapped air bubbles should rise to the surface and explode.
Step 3: Before adding heavier embellishments, allow the resin to harden slightly. Allow around 15 minutes for the resin in your mould to solidify significantly. Using tweezers, carefully arrange hefty three-dimensional objects on top of the bottom layer.
Step 4: Finish with a final coat of resin. Pour more resin over the heavier embellishments, thoroughly covering them.
Step 5: Before putting the transparencies in, coat them in resin. If you're going to use transparencies, coat them in some leftover resin before putting them in the mould.
Step 6: Any air bubbles should be removed. As before, carefully bring any air bubbles to the surface where they may pop with your hair dryer or heat gun.
Step 7: Any paper backdrops can be used. If you're going to use a paper background, gently arrange the paper over the top of the resin using tweezers, aligning it as evenly as possible with the mould or bezel opening.
Step 8: Allow time for the resin to cure. Cover the filled mould or bezel with a clean box and set it aside. Allow the resin to set for at least one night.
Step 9: Take the resin charms out of their moulds and set them aside. You should be able to pop the resin pieces out of their moulds with your fingers once they've been cured. Remove the bezels' backings. If you used a bezel instead of a mould, you'll have to pull the tape off the back of the bezel after the resin has dried.
Part 4: Putting The Earrings Together
Step 1: A metal eye pin should be heated. With pliers, grasp the eye of an eye pin and carefully heat the metal over a candle or gas stove flame. The metal should only be heated for about five seconds.
Step 2: Make a hole in the resin charm with the metal. With one hand, carefully poke the straight side of the heated eye pin into the resin object.
Step 3: To the loop, add a jump ring. Slide a small jump ring into the eye once the metal eye pin is cold enough to touch with your bare fingers.
Step 4: Glue the mount on the resin's back. To the top of the ring mount or pin backing, apply fast hold contact adhesive. Place the mount or backing over the resin piece's centre back.
Step 5: Let the adhesive dry.
Other Popular DIY Earring Designs
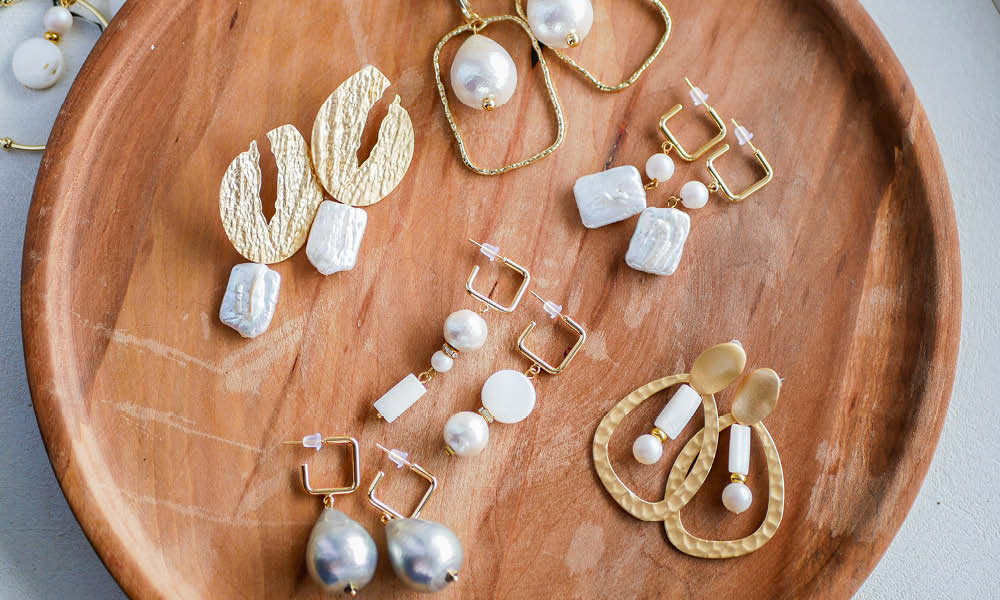
Apart from the ones mentioned above, the other types of popular DIY earring designs include:
1. Pom-pom earrings
2. Kundan earrings
3. Pearl studs
4. Macrame earrings
5. Wire-wrapped earrings
Tips For Beginners:
1. Start with the basics, simple designs will help you perfect your skills
2. Watch or read up as many tutorials as possible
3. Spend money wisely; remember, quality is of utmost importance
4. Be mindful while handling delicate materials, and ensure your safety if you're attempting to make something with potentially hazardous ingredients
5. Don't stress, have fun! Now that you have a complete guide to make some of the most trending earring designs, it's time to let your creativity flow.
Frequently Asked Questions
1. Are the materials for earrings expensive?
A. Not all materials for these DIY earrings are expensive. However, if you're looking for something specific to add to your creations, then it's advisable to draw up a budget accordingly.
2. How much time does it take to make these earrings?
A. Well, it depends on your skills. However, that shouldn't be a constraint. It's all about patience and practice.