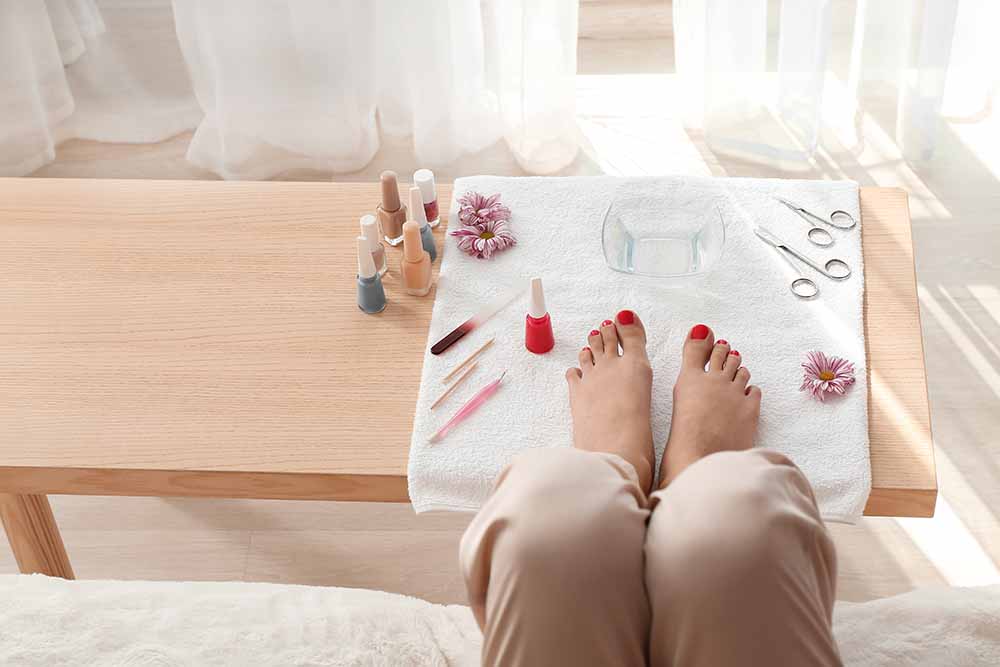
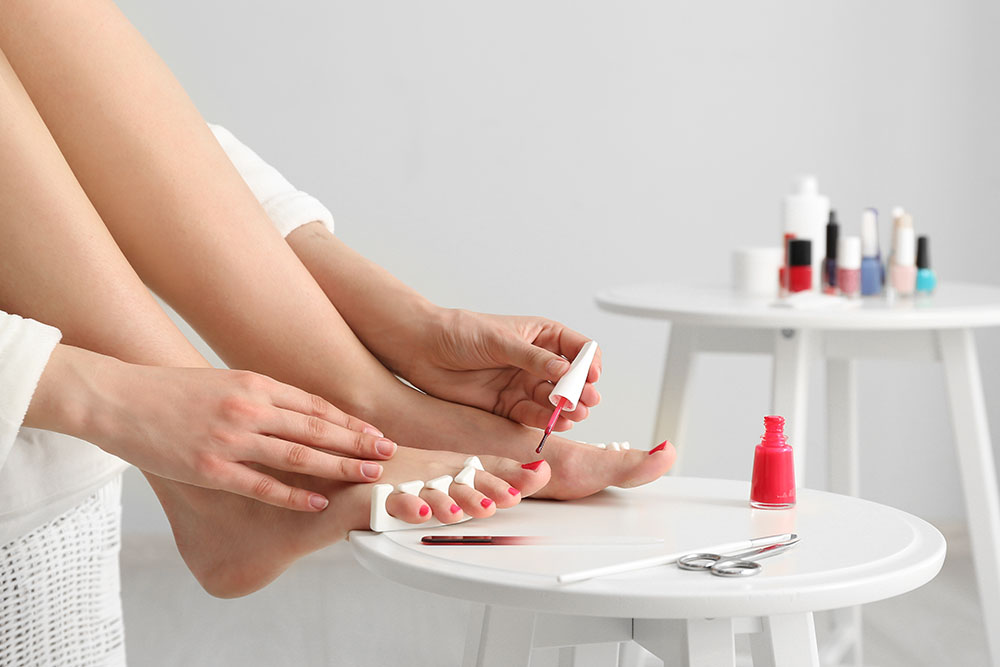
Pedicure is a cosmetic treatment for the skin of the foot performed by an aesthetician to clean, smooth, shape, buff and polish fingernails or toenails. The pedicurist uses specialised implements including pumice stones and cuticle trimmers.
Commonly used as a spa therapy for tired, sore or aching feet in order to alleviate pain and reduce sensitivity. The feet are soaked in warm, soapy water to soften the skin and nails.
Pedicure at home can help you get rid of corns, calluses and cracked heels.
This simple procedure is performed with a nail file and pumice stone for softening the rough skin.
Gathering your supplies
It's summertime, the perfect time for pedicure at home. And if you're like me and don't have a lot of money to spend on getting your feet done, then you can use this list of supplies and learn how to do a pedicure at home.
The most essential things are nail clippers, nail file, and polish remover. Other necessary items include cotton balls or squares, acetone, cuticle pusher (or a small ballpoint pen), manicure stick (or toothpick), clean towel for wiping your feet off after dipping them in the bowl of water and drying them off with a separate dry towel. Let's get to it.

Nail clippers, nail file and polish remover
All these really depend on the brand you buy as a person because everybody has a unique taste and choice so whatever you get you need to make sure that it's really quality to do the home pedicure procedure as required.
Manicure Stick
As for a manicure stick a good regular one would do just fine enough to get you to carry out manicure pedicure at home.
Towel
Any regular cotton towel will do just fine in home pedicure as long as it’s a proper cotton towel.
Other necessary items can easily be gotten according to your taste and brand attraction to the one that appeals to you the most.
The process that entails how to do pedicure at home consists of a few easy steps:
Prep your nails
Simply file your nails with a gentle saw-like motion just before you go to bed. Remove all the sharp edges that could potentially tear the skin or catch on things.
Remove thick calluses with a memory board and use a metal brush to scrub the skin on your feet.
This will remove all the dead skin cells and make it easier to remove any that remain after you're done.
Note that it's just as important to prep your nails as it is to do a pedicure. Roll back the edges of your nails with a metal file, then dip a round brush in nail polish remover and clean off any residue on the surface of your nails.
Rinse your hands with soap and water, then dry them thoroughly before cleaning them again with alcohol or rubbing alcohol.
Soak your feet
Warm up some water in a bathtub or large basin and soak your feet for 15 minutes before starting to work on them. You can also use a foot bath if you have one.
When you soak them, the water should go about 2/3 of the way up your shin so that it can help soften the tough skin on top of them as well as help relieve swelling if there's too much pressure from bunions or corns.
Apply soap to your feet
Use a mild, moisturising soap like lavender or chamomile. Avoid harsh soaps that are meant for bathing and not for skin care as they will be quite drying.
Pat dry your feet and massage them
Use your hands to pat dry the palms of your bare feet, up and down from the heels to the soles, gently rubbing in circles in between toes (like you would do when giving yourself a massage).
Scrub your feet
Shaving your feet majorly entails taking a shower and using soap to scrub your feet, after this you apply exfoliating foot scrub and let it sit for five minutes, then you rinse your feet with hot water. After rinsing your feet use a dry towel to dry off your feet and remove all the skin that came off in the process of scrubbing.
Moisturise your feet
After soaking and scrubbing your feet it is important to moisturize your feet because nail polish can dry out and crack your nails. A moisturizer will help your nails grow strong and healthy, leaving them looking glossy and beautiful even with a short manicure.
Some people prefer lotion because it absorbs quickly into the skin, while others may like cream because it offers more protection from splitting or cracking.
A final choice for moisturisers is oil, which can be found in most beauty supply stores. Oil acts almost like a wax and can be applied to the cuticles to help seal them.
By using a moisturiser after soaking and scrubbing your feet, your own pedicure will leave you with soft, smooth feet that are easy to maintain and look great!

Applying nail paint and final touch
After soaking, scrubbing, washing and moisturising your feet. You can now apply your nail paint and do some final touches.
And the steps in applying the nail paint and final touches are stated below:
● Assemble your tools, paints and paints.
● Wet and smooth the tops of your nails where you want the paint to go.
● Apply a thin layer of nail polish to one or two nails at a time to get a nice, even colour.
● Make sure the polish is dry before adding another coat.
● Apply the finish layer with clear nail polish and let it dry for 1 minute before starting on another nail; the finished top coat should last 1 week without chipping or last 2 weeks without chipping if you only use it once per week as directed by the manufacturer.
Tips for doing a pedicure
Choose the paint colours you want for each aesthetic
Each time you do this at home, there are several colour choices so you can enjoy some variety while doing it yourself! You can also use water-based paints contained in small bottles instead of nail polish removers.
Shave the calluses
Gently run a razor over the callus on both sides, but don't go deep. Don't do this more than once a month. This will stop them from growing back so quickly and so thickly.
File away anything rough
Put Vaseline around the rough area until it is softened/softened enough to be filed away easily.
Making nail polish last longer
To make your nails last longer, you'll have to make sure they're healthy first. Your nails should be clean and dry before you apply a base coat of colour. Leave the nail polish on until it's completely dried then apply another coat of colour and finish off with a top coat.
Precautions to take while pedicuring at home
● Work in well-ventilated areas
● Take precautions not to fall asleep during the process
● Follow all instructions on the product or kit being used
● Keep your tools away from children and pets:
If you've ever put band-aids on your baby, you know how much it hurts. So, when you're considering doing some DIY pedicure at home, keep these points in mind.
Too much pressure or going too deep or using a dull tool could lead to cutting yourself, so always work with someone else (preferably someone who knows what they're doing) if possible.
Conclusion
What's the worst part of going to a salon? One word: money. There's always a catch when it comes to looking good and pedicuring is no exception.
You might have struggled for hours upon hours just to achieve the perfect Hollywood glamour fluff look and then realised that you don't have time to go out or that it's raining outside.
FAQs
Can I do pedicures at home?
Yes. You can buy or rent a kit from your local drugstore, salon, or beauty store. Salons might recommend that you go for a short course first to learn the basics of manicuring before attempting a pedicure by yourself.
What does it look like?
Pedicures usually have three steps: soaking the feet in warm water and sometimes scrubbing with an exfoliating mitt; applying cuticle cream to soften and push back the cuticles; trimming away any dead skin from around or under nails; filing nails into desired shape; applying nail polish. A final step is to apply lotion and massage it into the skin.